

Now that we know the profound benefits of solarizing our homes, it’s time to consider solar panel installation by certified solar installers. If you’re just interested in knowing how solar panels are installed on your roof, here’s a step by step guide to help you walk through your project.
-
Finding Solar panel Installers and Getting an Estimate:
The first step to solar panel installation is to find the right solar panel installers and getting an estimate. Your friends or neighbors who already have solar installation can help you find a solar installation professional. You can always do your research over the internet and find the best installers and get a free quote estimate. A professional solar panel installer will ask you a series of general questions about your home such as your utility, the amount of your monthly electric bills, the age of your roof, the angle of your roof whether flat or pitched, the type of roof, such as shingles, tiles or clay. In addition to providing you with an estimate, your installer also provides solar financing options that you can avail of. So, once you choose an installer and secure your financing method, the solar system installation process can begin.
-
The Home Solar And Site Assessment:
Before design and installation, the solar installer will have to evaluate your home to determine the type of solar panel system that include solar panel, inverter, racking, and other components that best suit your home. To determine the best location to mount the hardware that runs your system, solar installers carry out a thorough inspection of your attic, your roof, and your home’s electrical system. During the inspection, the installer evaluates your property to ensure that the installation is code compliant and will recommend upgrading if required like updating your electrical panels, addressing the roof repairs to be done before your system is installed.
-
Design and approval:
Once, after collecting all the information and roof measurements, the solar installer will create solar engineering and site design plan. The wiring of the system and the number of panels placed on your roof will include in the plan. The plan also includes how it will be interconnected with the utility. The Professional installers will make sure that the design and plan are compliant with the local fire safety requirements before submitting the plan to your city/county permitting departments and to your utility company, depending on the jurisdiction. Overall, from the day you sign your contract with your installer, the design and permitting phase will typically take between one to three months before your solar panels are grid-connected and producing energy for your home. Your installer shall keep you informed about the progress and schedule the physical installation date once you get the approval.
-
Solar Installation:
Professional installers carry out this process in a smooth and hassle-free manner. Depending on the size of your solar system they can install a typical solar system in one to three days. Your solar installer will start by prepping your roof and ensures that the shingles or tiles are in place. Then, they put in electrical wiring that connects to your electrical panel and general power system. After completing the electrical wiring, we mount the racking system that holds solar panels on your roof and placess the panels on the racking. Finally, connect the solar panels to convert direct current (DC) energy into alternating current (AC) energy. The alternating current energy is the energy that homes use and on the electric grid. After a few hours of installation, attach the power meter for net metering. After installing the solar panel, the installer will clean up the work area and begin the last phase.
-
Inspection and Interconnection:
When concerned with permitting, it differs from each city, county, and utility to carry out inspection. The approval requirements for home/office solar installations. The authorized inspector will visit to make sure that your solar installation was completed as planned in the granted permit. The inspection process can vary widely and can take anywhere from a few days to several weeks to start harnessing your power. The utility will inspect and signoff on the installation before your home solar system is officially connect to the grid. This interconnection waiting period can take days to weeks, and as with permitting. The installers may be able to navigate through the system more efficiently and keep you well informed on the progress.
Once the interconnection is approved, your installer will be ready to flip the switch and check that the system is performing to the standard estimated before installation. This is to ensure there aren’t any faults, and that the solar panels are generating as designed. And you are all set to generate your clean energy. Finally, make sure that you are provided with all of the necessary documentation, including manuals and warranties.
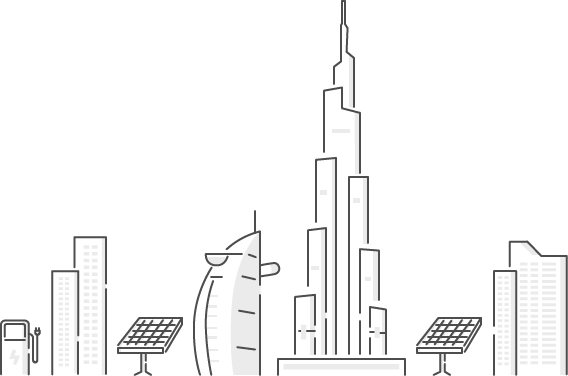
Thinking About A Home Solar Installation?
If you want to install a solar panel system for your home, this is the right to switch to solar power. Wattz, the leading solar panel installation company in Dubai, can help you with your home solar installation. Just fill out our contact form and one of our engineers will soon be in touch to discuss your project. Before providing you with a proposal, complete with performance estimates, and an initial quote. Contact us today.